Do you have a hard time to get your pantry organized and make it work for your family? Do you tend to dump everything in your cupboard with the intention to organize later, but later never comes?
Most of us we need someone to motivate and guide us through the whole process. The more we procrastinate the more we find it hard to start until the situation get desperate.
In this blog post I am taking you along through the process of organizing a pantry of a client, which you can easily adopt if you organizing a space in your home.
- ASSESS THE SPACE
Before starting any project, I assess the space. It is important to determine how that space needs to function. In the case of this client, has box room just off the kitchen which she uses as a catch all…..water bottles, soft drinks, extra snacks.
The space had a lot of potential, but it was not organized and the client had multiple of the same items.

- PRODUCTS
I had a vision in my mind of how the pantry was going to look like. I wanted to contain like items as much as possible but yet want it to make it look pleasant.
If it you are just starting in the organizing journey, refrain from going out to buy bins and baskets. First start by grouping like with like items. Once you are happy with how it works, then you can buy bins and baskets. This can take weeks if not months.


- THE SORTING
As overwhelming as it may seem, taking everything out allows you to have a better picture of the items you have. You take more conscious of the amount of stuff you have.
Whilst taking everything out, group like items together.
- THE CLEANING & PURGING
This is the perfect opportunity to clean the space. Never put back items without cleaning the area.
Take the time to go through each and every item. Only put back items that belong in that area. Throw away expired item, donate items which you do not use but are still in good condition, relocate items which do not belong in the space.
- PUTTING EVERYTHING BACK IN
Since I had bins and baskets, I first put them on the shelves to see how the looked.
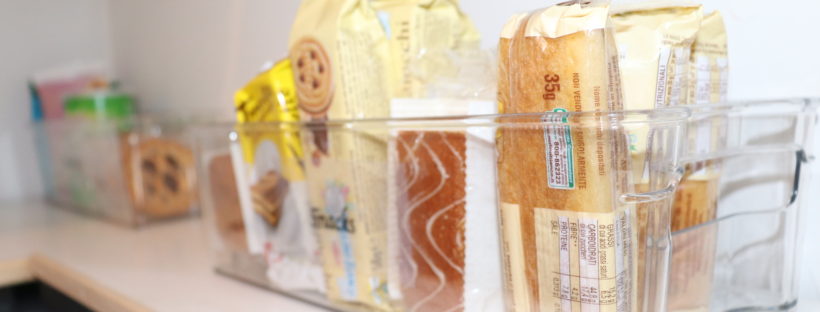
To put everything back in, everything was taken out of their original packaging. Items were grouped like with like and the shelved had a dedicated purpose.
- LAST TOUCH – LABELS
Why use labels if a container is transparent? Whether a container / basket is transparent or not, I always recommend using labels. This makes it easier to visualize what that container should have…..for example if a container hosts crisps and is totally empty, if it is not labeled it is likely that in that bin you would put something else instead of crisps.
Another benefit of labels is that, if someone helps you put stuff away, they know exactly where it should go.


- FINAL RESULT
Everything now has a designated area. There is empty space, and if the client wants can add more bins. Client can exactly see what she has and can easily grab what she needs, with one movement of the arm.
If you would like guidance on how to organize your space, you can contact me via messanger or email (info@strugglingmum.com) for a FREE CONSULTATION.
Love
Strugglingmum xxx


